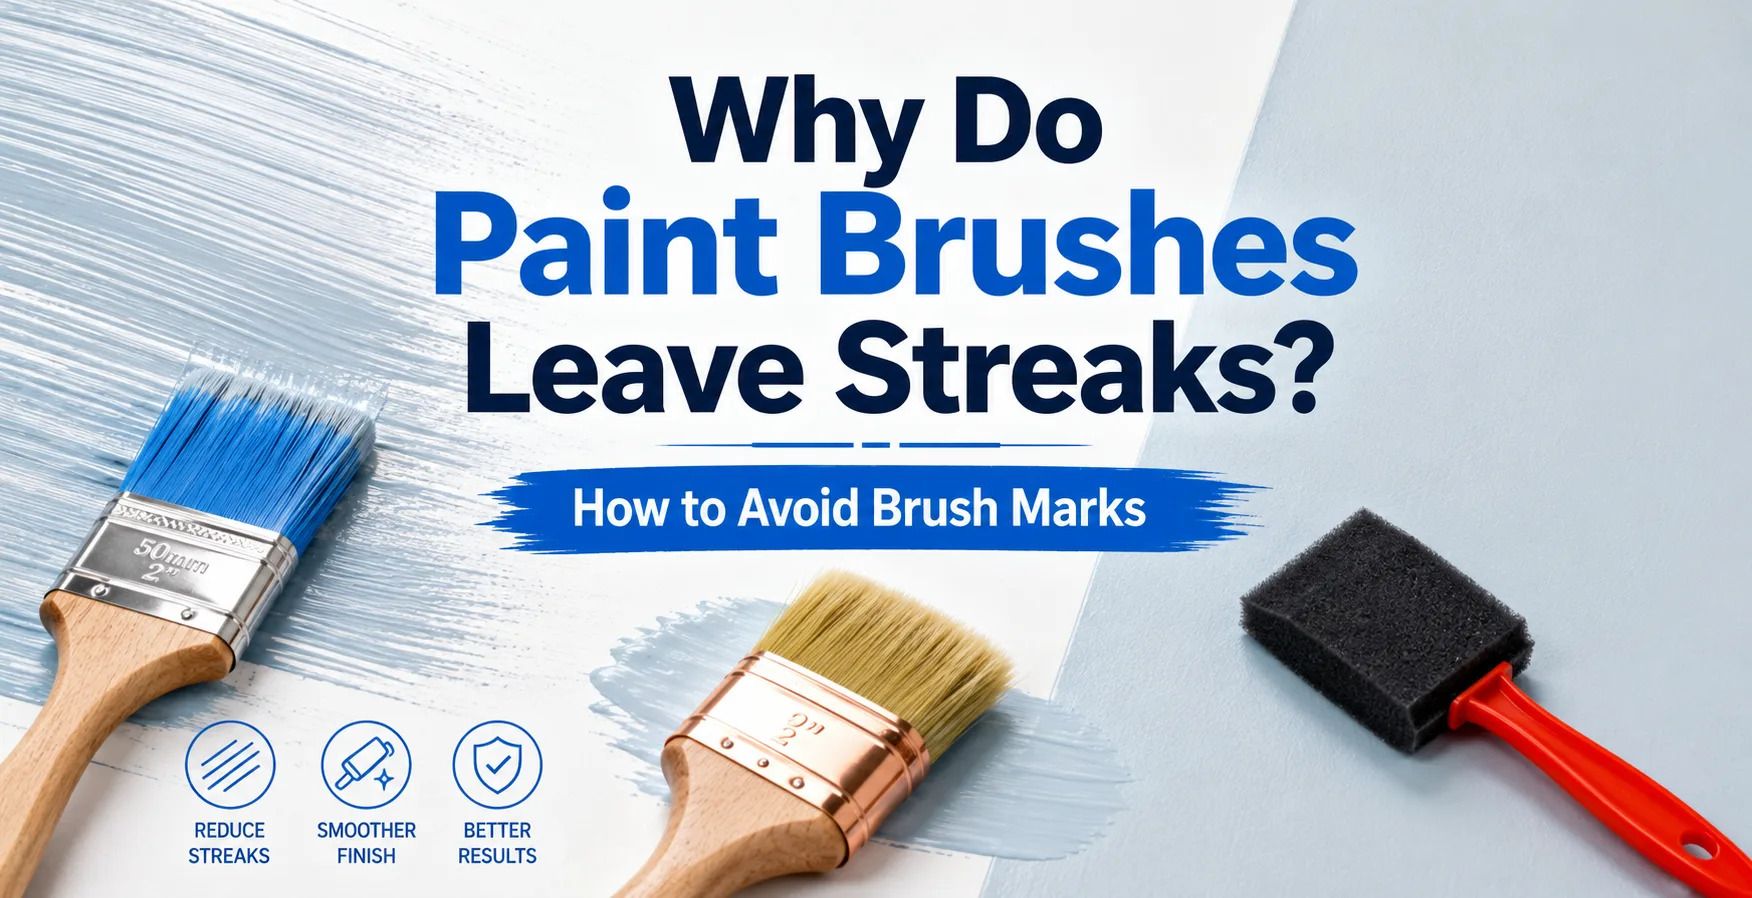
Paint brushes leave streaks when the brush does not release paint evenly, the surface is poorly prepared, the paint is too thick or drying too fast, or the painter applies too much pressure and overworks the coating. Brush marks are also common when users choose the wrong brush type for the paint, such as using natural bristles with water-based paint or using a low-quality brush with poor filament processing.
To avoid brush marks, choose the correct paint brush for the coating, prepare the surface properly, load the brush evenly, apply paint with smooth strokes, maintain a wet edge, and stop brushing once the paint begins to level. For professional painters, contractors, retailers, and paint tool buyers, reducing streaks is not only a technique issue. It also depends heavily on brush material, bristle density, ferrule quality, filament tips, handle control, and product consistency.
Why Do Paint Brushes Leave Streaks?
Brush streaks usually appear because paint is not being applied in a smooth, even film. This can happen before painting, during application, or while the paint is drying. The cause may be the brush, the paint, the surface, the environment, or the user’s technique.
| Common Cause | What Happens | Practical Solution |
|---|
| Low-quality brush | Poor paint release, loose bristles, uneven stroke marks | Use a brush with dense bristles, strong ferrule, and well-processed tips |
| Wrong brush material | Bristles lose shape or fail to spread paint smoothly | Use synthetic brushes for water-based paint and natural bristles for oil-based coatings |
| Paint too thick | Paint drags and does not level properly | Stir properly and follow the paint manufacturer’s thinning guidance if needed |
| Surface not prepared | Paint catches on dust, rough spots, or old coating edges | Clean, sand, repair, and prime the surface before painting |
| Too much pressure | Brush bristles dig into the paint film and leave visible lines | Use light, even pressure and let the bristles glide |
| Over-brushing | Partially dry paint is disturbed, creating ridges and streaks | Apply paint evenly and avoid repeatedly brushing the same area |
| Fast drying conditions | Paint dries before it can level out | Avoid painting in excessive heat, direct sunlight, strong airflow, or very dry conditions |
Low-Quality Paint Brushes Are a Major Cause of Brush Marks
A poor-quality brush often leaves streaks even when the painter uses good technique. This is because the bristles may be uneven, too sparse, too stiff, poorly tapered, or loosely fixed in the ferrule. When the brush cannot hold and release paint consistently, the coating film becomes uneven.
Brush Quality Problems That Cause Streaks
Uneven bristle length: Creates inconsistent contact with the surface.
Poor filament tips: Bristles that are not flagged, tapered, or processed well can leave sharper lines.
Low bristle density: The brush holds less paint and may create dry strokes.
Weak ferrule: Loose bristles can shift during use and affect stroke control.
Excessively stiff bristles: Can scratch through the paint film instead of smoothing it.
For commercial buyers, brush quality should be evaluated through actual coating tests, not only by appearance. A brush may look acceptable in packaging but perform poorly when loaded with paint.
Wrong Brush Material for the Paint Type
Using the wrong bristle material is one of the most common reasons for visible brush marks. Water-based and oil-based coatings behave differently, so the brush material must match the paint system.
Water-Based Paint
For latex paint, acrylic paint, emulsion paint, and water-based primer, synthetic brushes are usually the better choice. Synthetic filaments resist water absorption and maintain shape during painting. This helps the brush keep a stable edge and release paint more evenly.
Oil-Based Paint, Stain and Varnish
For oil-based paint, wood stain, varnish, shellac, and many solvent-based coatings, natural bristle brushes often provide smoother flow and better coating release. Natural bristles are especially useful for wood finishing and traditional decorative work.
Why Natural Bristles Can Leave Marks with Water-Based Paint
Natural bristles can absorb water, swell, and become softer when used with water-based paint. This reduces control and may create streaks, uneven spreading, and poor edge definition. For modern house painting, synthetic bristles are usually more reliable.
Paint That Is Too Thick Can Leave Brush Lines
Paint viscosity has a strong effect on brush marks. When paint is too thick, it does not flow or level properly after application. Instead of smoothing out, it holds the shape of the brush stroke and dries with visible lines.
Signs That Paint May Be Too Thick
The brush drags heavily across the surface
Paint forms ridges along the stroke direction
The finish looks uneven even after careful brushing
The brush feels dry shortly after loading
The surface shows heavy texture after drying
Users should always stir paint thoroughly before application. If thinning is allowed, it should be done according to the paint manufacturer’s instructions. Over-thinning can cause weak coverage, dripping, and poor film build, so the goal is controlled flow rather than making the paint watery.
Poor Surface Preparation Makes Streaks More Visible
Even the best paint brush cannot create a smooth finish on a dirty, dusty, uneven, or glossy surface. Brush marks are often more visible when paint catches on surface defects or dries unevenly over old coatings.
Surface Problems That Cause Brush Marks
Dust, grease, wax, or cleaning residue
Rough sanding marks or raised wood grain
Old peeling paint or uneven coating edges
Unprimed porous surfaces that absorb paint too quickly
Glossy surfaces without proper sanding or bonding primer
How to Prepare the Surface
Before painting, clean the surface, sand rough areas, remove loose coating, repair holes or cracks, and apply primer when necessary. For wood, sanding between coats can significantly improve smoothness. For walls, proper patching and priming help prevent uneven absorption and visible streaks.
Too Much or Too Little Paint on the Brush
Brush loading affects finish quality. Too much paint can create drips, thick ridges, and uneven coating. Too little paint creates dry brushing, dragging, and patchy coverage. Both problems can result in streaks.
How Much Paint Should Be Loaded on a Brush?
For most painting tasks, dip about one-third of the bristle length into the paint, then lightly tap the brush against the inside of the container. Avoid scraping off too much paint on the rim because this can leave the brush too dry.
Why Dry Brushing Causes Streaks
When the brush does not carry enough paint, the bristles drag across the surface instead of spreading a continuous coating film. This creates visible lines, especially on smooth doors, cabinets, trims, and furniture panels.
Too Much Pressure Creates Visible Brush Marks
Pressing too hard bends the bristles and pushes grooves into the paint film. A paint brush should guide and spread the coating, not scrape it across the surface. Heavy pressure is especially likely to cause marks with fast-drying water-based paints.
Better Brush Control Technique
Hold the brush comfortably near the ferrule for better control
Use light, steady pressure
Let the bristle tips do the finishing work
Brush in long, smooth strokes where possible
Finish each section with light strokes in the same direction
For professional users, handle comfort and brush balance also matter. A poorly balanced brush can make it harder to maintain consistent pressure during long painting sessions.
Over-Brushing Is One of the Most Common Technique Mistakes
Over-brushing means repeatedly brushing paint after it has already started to set. This is a common cause of streaks, ridges, and rough finish. Many modern water-based paints dry quickly, so the working time can be short.
How to Avoid Over-Brushing
Apply paint evenly, level it with a few smooth strokes, and then leave it alone. Do not keep correcting the same area after the paint begins to tack. If the finish looks imperfect while wet, it may still level as it dries. Reworking partially dry paint often makes the result worse.
Why Maintaining a Wet Edge Matters
A wet edge helps new paint blend into the previous section before drying. If one area dries before the next stroke overlaps it, lap marks and streaks may appear. This is especially important on doors, cabinets, wide trim, and larger panels.
Fast Drying Conditions Can Make Brush Marks Worse
Paint needs enough open time to level after brushing. When the environment causes paint to dry too quickly, brush marks become more visible because the coating cannot smooth itself before setting.
Conditions That Increase Brush Marks
How to Improve Working Conditions
Paint in moderate conditions when possible. Avoid direct sunlight on exterior surfaces, reduce strong airflow indoors, and work in smaller sections if the paint dries quickly. For professional projects, choosing the right time of day can make a noticeable difference in finish quality.
Wrong Brush Size Can Also Cause Streaks
Brush size affects how evenly paint is applied. A brush that is too small for a large area requires too many strokes, increasing overlap marks. A brush that is too large for detailed work is harder to control and may apply uneven pressure.
| Painting Task | Recommended Brush Size | Reason |
|---|
| Small touch-ups and narrow trim | 1 inch to 1.5 inch | Better precision and less overpainting |
| Door frames and baseboards | 2 inch to 2.5 inch angled brush | Good balance of paint loading and edge control |
| Doors and cabinet panels | 2 inch to 3 inch flat brush | Controlled strokes across flat surfaces |
| Large rough walls or masonry | 4 inch or wider wall brush | Higher paint capacity and better texture coverage |
What Type of Paint Brush Leaves the Smoothest Finish?
The smoothest finish usually comes from a high-quality brush matched to the coating type. For water-based paints, a premium synthetic brush with tapered or flagged filaments is usually best. For oil-based paint, varnish, and stain, a quality natural bristle brush can provide excellent flow and smooth release.
Brush Features That Improve Smoothness
Dense bristle filling for better paint holding
Tapered filament tips for softer contact
Good shape recovery after pressure
Strong ferrule construction
Comfortable handle for stable control
Correct brush width for the surface
For buyers sourcing paint brushes, these features are more important than simply choosing the cheapest product. Smooth finish performance is often what separates basic disposable brushes from professional-grade decorating tools.
How to Avoid Brush Marks on Doors
Doors show brush marks easily because they are large, flat, and often viewed under side lighting. To get a smoother finish, remove hardware if possible, sand the surface, clean dust, use primer when needed, and choose a suitable brush or mini roller.
Best Practice for Door Painting
Sand glossy or rough areas before painting
Use a high-quality synthetic brush for water-based door paint
Use a natural bristle brush for oil-based finishes
Paint panels and edges in a consistent order
Use long strokes following the grain or panel direction
Avoid brushing back into paint that has started to dry
For very smooth doors, some users prefer combining a brush for edges with a foam or microfiber mini roller for larger flat sections.
How to Avoid Brush Marks on Cabinets
Cabinets require higher finish quality than many wall surfaces. Brush marks are more visible because cabinets are touched frequently and viewed at close distance. Surface preparation and brush quality are especially important.
Cabinet Painting Recommendations
Clean grease and residue thoroughly before sanding
Use bonding primer if painting over old glossy finishes
Choose a fine-finish brush or mini roller
Apply thin, even coats instead of one heavy coat
Sand lightly between coats when the coating system allows
Allow proper drying time before recoating
For commercial buyers, cabinet and furniture users often value smoother finish performance and may be willing to pay more for professional-grade brushes.
How to Avoid Brush Marks on Trim and Baseboards
Trim, skirting boards, and baseboards require clean edges and smooth strokes. A 2 inch or 2.5 inch angled brush is often the best choice because it provides good control along edges while holding enough paint for continuous strokes.
Trim Painting Tips
Use an angled brush for better line control
Do not overload the brush near edges
Work in manageable sections
Use light finishing strokes in one direction
Remove dust from sanding before painting
Low-quality brushes often perform poorly on trim because edge control depends on bristle shape and recovery. A brush that spreads or loses its tip quickly will make clean trim work difficult.
Can You Fix Brush Marks After Paint Dries?
Yes, dried brush marks can usually be improved, but they often require sanding and repainting. If the marks are light, sanding the surface smooth and applying another thin coat may solve the problem. If the paint ridges are heavy, more sanding or surface leveling may be needed.
How to Repair Dried Brush Marks
Allow the paint to dry fully according to the coating instructions.
Sand the marked area lightly with suitable fine sandpaper.
Remove all sanding dust with a clean cloth or vacuum.
Apply a thin, even coat using the correct brush.
Maintain a wet edge and avoid over-brushing.
Do not try to fix brush marks while the paint is half-dry. Reworking tacky paint can make the surface rougher and more uneven.
Do Cheap Paint Brushes Leave More Streaks?
Cheap paint brushes are more likely to leave streaks when they have poor bristle density, uneven filament length, weak ferrules, or rough bristle tips. However, price alone does not guarantee performance. A well-made economical brush may perform better than a poorly designed expensive brush.
For importers, wholesalers, and retailers, product testing is essential. Brushes should be tested with the coatings and surfaces that target customers actually use. A brush designed for disposable rough work should not be marketed as a fine-finish brush.
Commercial Quality Checklist for Low-Streak Paint Brushes
For buyers selecting paint brush products, the following quality points help reduce streak complaints and improve customer satisfaction:
Bristle density: Higher density improves paint holding and smoother release.
Filament processing: Tapered, flagged, or soft tips help reduce visible brush lines.
Shape recovery: Bristles should return to shape after pressure.
Ferrule stability: Strong ferrules reduce bristle movement and shedding.
Handle comfort: Better grip improves pressure control and reduces fatigue.
Paint compatibility: Product labeling should indicate water-based or oil-based suitability.
Size range: Different widths should be available for trim, panels, walls, and detail work.
How Retailers Can Help Customers Choose the Right Brush
Many brush mark problems happen because customers choose the wrong tool. Retailers and distributors can reduce misuse by grouping brushes by application instead of only by size or price.
Recommended Product Positioning
Fine finish brushes: Cabinets, doors, furniture, trim, and visible surfaces
General painting brushes: Walls, panels, fences, and everyday repainting
Angled brushes: Cutting-in, edges, frames, and baseboards
Wall brushes: Large surfaces, masonry, rough walls, and exterior coating
Natural bristle brushes: Oil-based paint, stain, varnish, and wood finishing
Synthetic brushes: Water-based paint, latex, acrylic, and primers
Clear packaging and product descriptions help customers select correctly, which can reduce returns, complaints, and negative product reviews.
Common Mistakes That Lead to Brush Marks
Using One Brush for Every Paint Type
A single brush cannot perform equally well with every coating. Water-based paints usually need synthetic bristles, while oil-based finishes often work better with natural bristles.
Skipping Sanding Between Coats
On doors, cabinets, and furniture, sanding between coats can improve smoothness and remove small imperfections. Skipping this step may make brush marks more visible after the final coat.
Applying Paint Too Thickly
Thick coats dry slowly, sag easily, and hold brush texture. Thin, even coats usually produce a cleaner finish and better durability.
Painting in the Wrong Direction
On wood, brushing with the grain usually creates a cleaner appearance. Random stroke directions can make brush marks more noticeable.
Ignoring Drying Time
Recoating too soon can disturb the previous layer and create uneven texture. Always allow proper drying time before sanding or applying another coat.
FAQ: Paint Brush Streaks and Brush Marks
Why does my paint brush leave lines?
Your paint brush may leave lines because the brush is low quality, the paint is too thick, the surface is not smooth, or too much pressure is being used. Wrong brush material and over-brushing are also common causes.
How do you paint without brush marks?
Use the correct brush for the paint type, prepare the surface properly, load the brush evenly, apply thin coats, use light pressure, maintain a wet edge, and avoid brushing paint after it starts to dry.
What paint brush is best for no streaks?
For water-based paint, a high-quality synthetic brush with tapered or flagged filaments is usually best. For oil-based paint, stain, and varnish, a quality natural bristle brush often gives smoother results.
Can you sand out brush marks?
Yes. Once the paint has fully dried, light brush marks can often be sanded smooth before applying another coat. Heavy ridges may require more sanding and careful repainting.
Why do brush marks show more on glossy paint?
Glossy paint reflects more light, making surface imperfections more visible. Brush marks, sanding scratches, and uneven coating thickness are easier to see on gloss or semi-gloss finishes.
Does adding water reduce brush marks?
Adding water may improve flow for some water-based paints, but only if the paint manufacturer allows thinning. Too much water can reduce coverage, durability, and film strength.
Should wholesalers sell different brushes for different paint types?
Yes. Clear separation between synthetic brushes for water-based paints and natural bristle brushes for oil-based coatings helps customers choose correctly and reduces performance complaints.
Final Recommendation
Paint brushes leave streaks because of poor brush quality, wrong bristle material, thick paint, poor surface preparation, excessive pressure, over-brushing, or fast drying conditions. The best way to avoid brush marks is to match the brush to the paint, prepare the surface carefully, apply thin and even coats, and use controlled brushing technique.
For commercial buyers, reducing brush mark complaints starts with product quality and clear application guidance. A strong paint brush product line should include suitable synthetic brushes, natural bristle brushes, angled brushes, flat brushes, wall brushes, and fine-finish options. This helps customers choose the right tool, improves painting results, and supports stronger repeat purchasing in the house painting and decorating supplies market.
 English